Mastering the Art of Colouring: The Process of Dyeing Genuine Leather
Leather, the timeless material known for its durability, flexibility, and aesthetic appeal, has been a staple in the fashion industry for centuries. From the rugged charm of a well-worn leather jacket to the sleek sophistication of a designer handbag, leather goods maintain enduring popularity. Central to their allure is the rich, vibrant colour that these items sport—a result of the intricate leather dyeing process.
In this blog post, we’ll uncover the steps that turn a natural hide into a beautifully dyed leather masterpiece before making genuine leather jackets.
The Stages of Leather Dyeing
Leather dyeing is both a science and an art, requiring meticulous attention to detail to ensure even coloration and a high-quality finish. Here’s how the transformation takes place:
- Preparation of the Hide
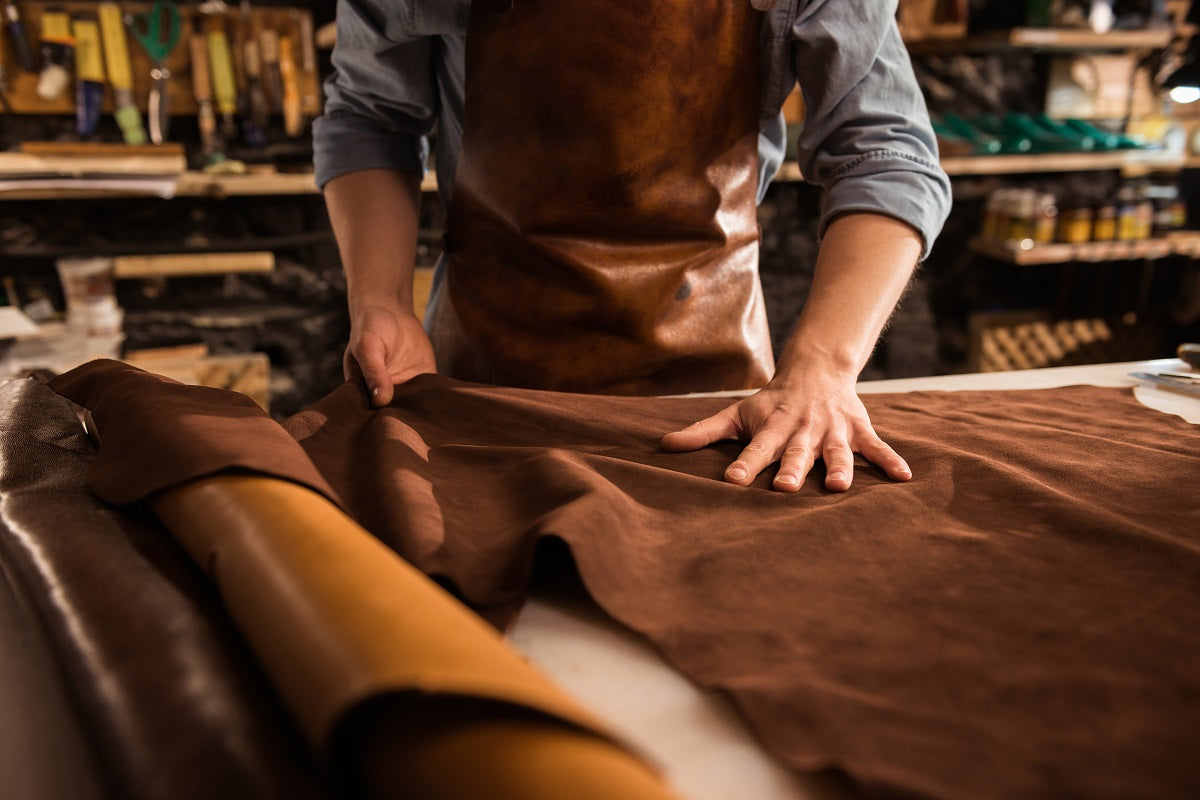
Before dye can be applied, the leather must be prepared properly. After the hide is tanned, it must be thoroughly cleaned to remove any natural oils, dirt, or remaining hair. This process ensures that the surface is receptive to the dye.
- Choosing the Dye
Leather dyes come in two primary types: water-based and oil-based. Water-based dyes are eco-friendlier and provide a more uniform coloration, while oil-based dyes offer a richer saturation but can be more challenging to work with.
- Applying the Dye
The dye can be applied in a few different methods depending on the desired effect:
- Hand-Dyeing: For custom pieces or smaller batches, artisans may apply dye by hand using brushes, sponges, or sprays. This method allows for maximum control and unique patterns but can be time-consuming.
- Dip-Dyeing: In this method, the leather is completely immersed in a dye bath. It’s a quicker process and ensures that the dye penetrates deep into the leather.
- Drum-Dyeing: Large quantities of leather are dyed in a rotating drum, which allows for even colour distribution and penetration. This is the most common method used in the industry for standard colours.
Each application method requires multiple coats, with the leather being given time to dry in between. Consistency and patience are key to avoid splotches and streaks.
- Fixing the Dye
After the desired color intensity is achieved, the leather needs to be treated with a fixative solution. This step is crucial to set the dye and prevent colour bleeding.
- Finishing
Finishing is the final step in the dyeing process and can include a variety of treatments:
- Polishing: To give the leather a shine, it can be polished with waxes and creams.
- Buffing: For a softer, matte look, the surface of the leather can be buffed.
- Coating: A protective coating may be applied to safeguard against water damage and fading.
The Challenges of Leather Dyeing
The dyeing of leather is not without its challenges. Achieving a consistent colour across different hides can be difficult due to natural variations in the material. Environmental conditions like humidity and temperature can also affect dye absorption. And there's always the goal of maintaining the leather's natural texture and softness while infusing it with the desired hue.
Conclusion
The dyeing process gives leather its iconic look, enhancing its natural beauty and protecting it for extended use. Understanding the steps and care involved in dyeing leather deepens our appreciation for this classic material and the wide range of goods it produces. Whether you're a leather aficionado or simply someone who admires the craftsmanship of dyed leather products, the world of leather dyeing is rich with colour and complexity.
Next time you hold a leather item, remember the journey it has undergone—from a raw hide to a dyed work of art in your hands.


